PyTorchNet is a Machine Learning framework that is built on top of PyTorch. And, it uses Visdom and Plotly for visualization.
PyTorchNet is easy to be customized by creating the necessary classes:
- Data Loading: a dataset class is required to load the data.
- Model Design: a nn.Module class that represents the network model.
- Loss Method: an appropriate class for the loss, for example CrossEntropyLoss or MSELoss.
- Evaluation Metric: a class to measure the accuracy of the results.
PyTorchNet consists of the following packages:
This is for loading and transforming datasets.
Network models are kept in this package. It already includes ResNet, PreActResNet, Stacked Hourglass and SphereFace.
There are number of different choices available for Classification or Regression. New loss methods can be put here.
There are number of different choices available for Classification or Regression. New accuracy metrics can be put here.
There are already three different plugins available:
- Monitor:
- Logger:
- Visualizer:
- main
- dataloader
- train
- test
First, you need to download PyTorchNet by calling the following command:
git clone --recursive https://github.com/human-analysis/pytorchnet.git
Since PyTorchNet relies on several Python packages, you need to make sure that the requirements exist by executing the following command in the pytorchnet directory:
pip install -r requirements.txt
Notice
- If you do not have Pytorch or it does not meet the requirements, please follow the instruction on the Pytorch website.
Congratulations!!! You are now ready to use PyTorchNet!
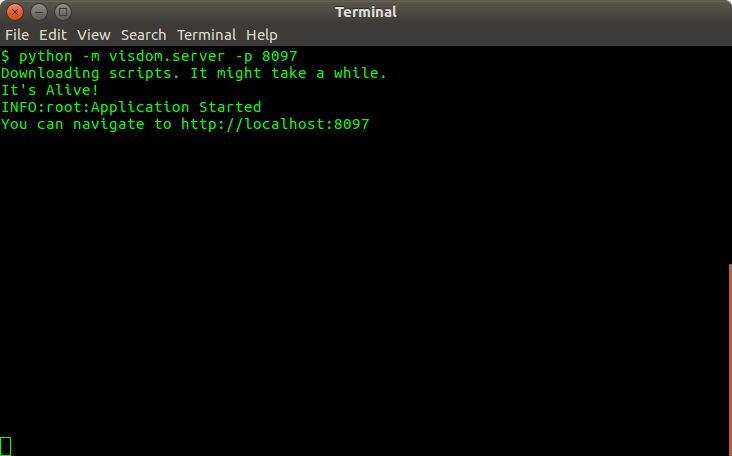
Before running PyTorchNet, Visdom must be up and running. This can be done by:
python -m visdom.server -p 8097
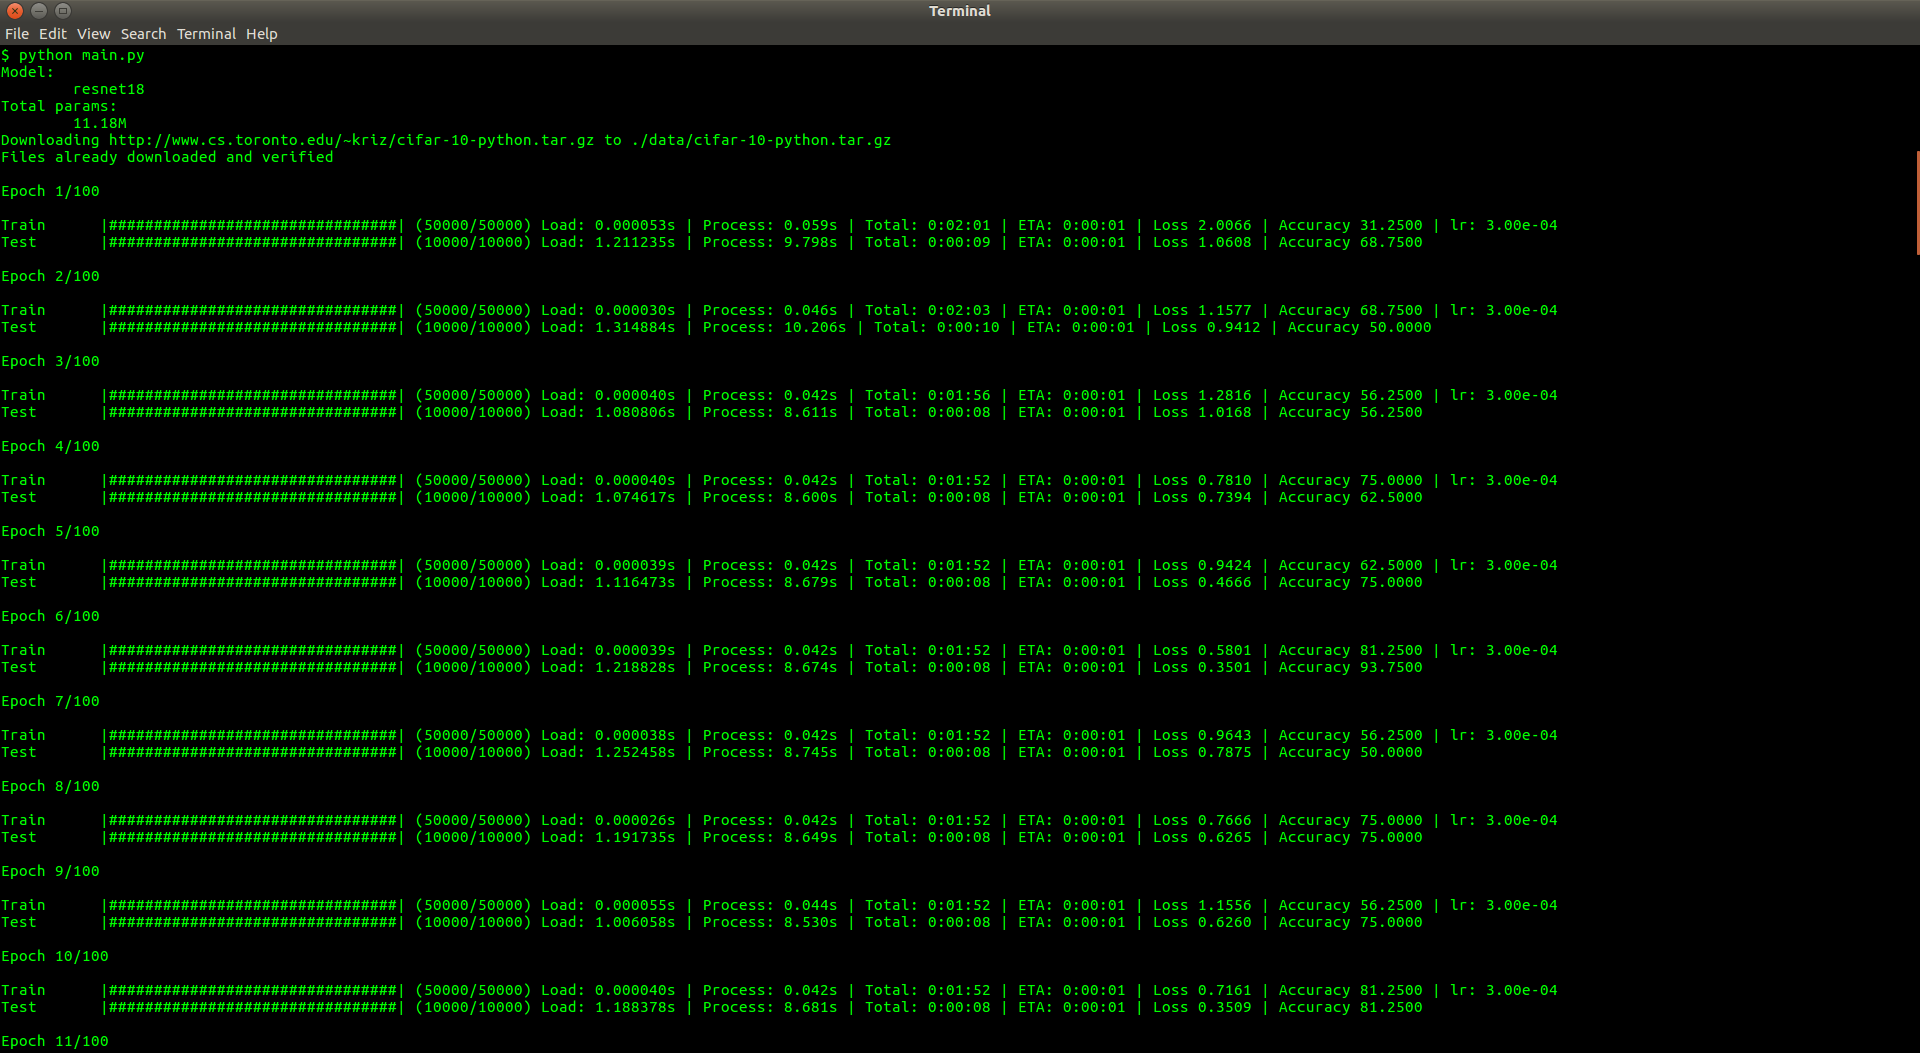
PyTorchNet comes with a classification example in which a ResNet model is trained for the CIFAR10 dataset.
python main.py

PyTorchNet loads its parameters at the beginning via a config file and/or the command line.
When PyTorchNet is being run, it will automatically load all parameters from args.txt by default, if it exists. In order to load a custom config file, the following parameter can be used:
python main.py --config custom_args.txt
[Arguments]
port = 8097
env = main
same_env = Yes
log_type = traditional
save_results = No
# dataset options
dataroot = ./data
dataset_train = CIFAR10
dataset_test = CIFAR10
batch_size = 64
Parameters can also be set in the command line when invoking main.py. These parameters will precede the existing parameters in the configuration file.
python main.py --log-type progressbar