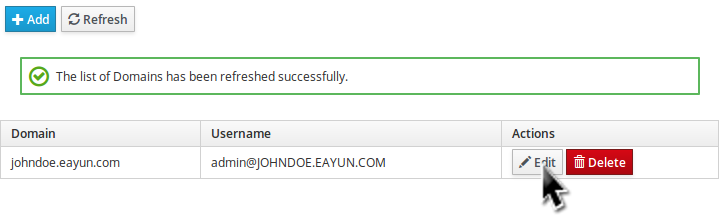
Edit a Domain
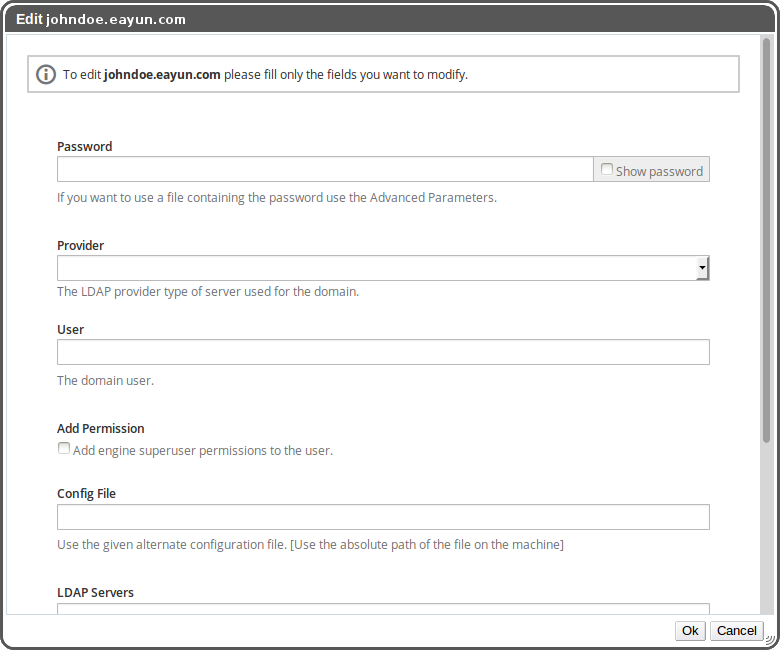
Here are the description of all the fields:
Required Parameters
| Field | Description |
|---|---|
Password |
The password to manage the domain (You can use the Password File instead). |
Parameters
| Field | Description |
|---|---|
Provider |
The LDAP provider type of server used for the domain. |
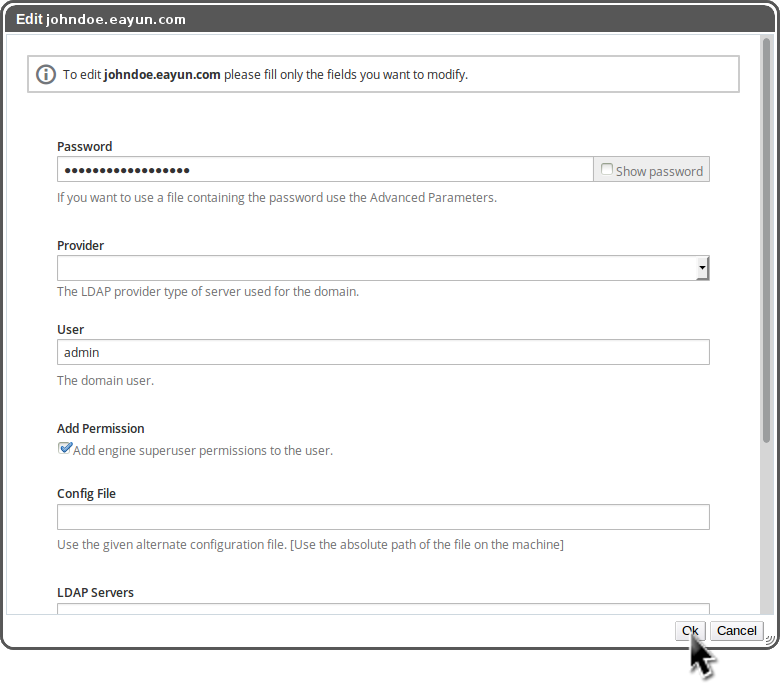
User |
The domain user. |
Add Permission |
Add engine superuser permissions to the user. |
Config File |
Use the given alternate configuration file. [Use the absolute path of the file on the machine] |
LDAP Servers |
A comma delimited list of LDAP servers to be set to the domain. |
Resolve KDC |
Resolve KDC servers using DNS (don't assume they are the same as LDAP servers). |
Password File |
A file containing the password. [Use the absolute path of the file on the machine] |
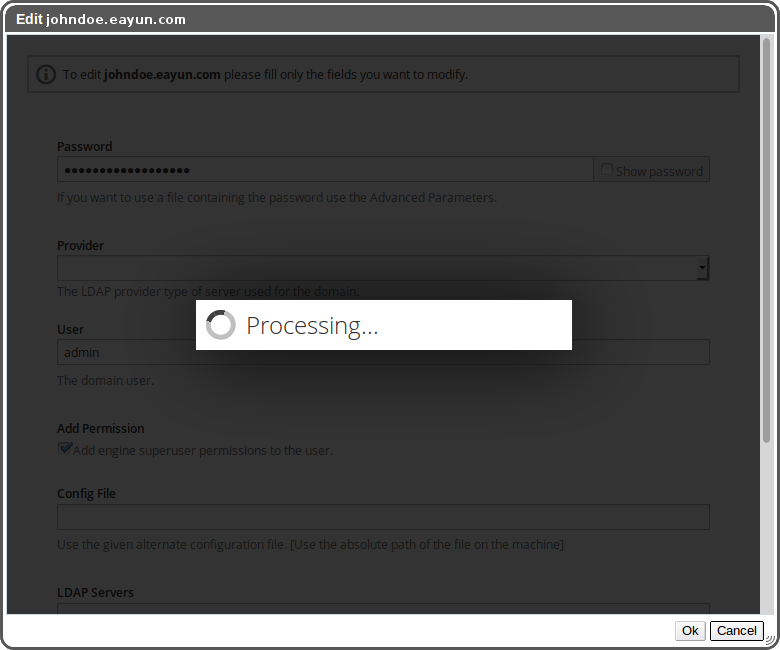
If everything worked correctly, you should see a notification of the success. If the modifications don't appear yet in the Table of Domain, please wait for the refresh to finish.
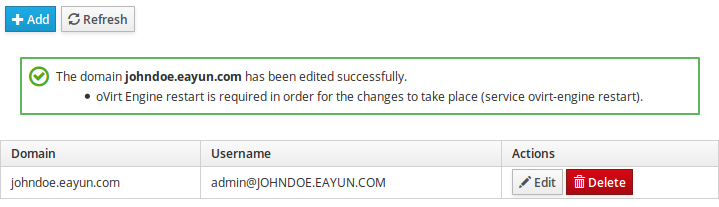
Otherwise, you will see a notification of the failure. If you want more information about the failure check your browser console.
OVirt Engine restart is required in order for the changes to take place :
- Connect to the machine using ssh
- Enter
service ovirt-engine restart


