The Survival Kit works with Clarisse 5 Python 2 and 3. Make sure to setup with the python version you're using.

Clarisse Survival Kit(CSK) is a set of Python functions for Clarisse to automate repetitive processes such as importing generic textures, Megascans assets and mixing materials.
Clarisse gets shipped with python so you don't need to download anything, but you have to
make sure pip gets installed during the python installation. Also
enable the "Add python.exe to Path". Clarisse 5 won't work with Python3 versions other than 3.7.xx . So don't install 3.8 or higher.
CSK requires
Python 2.7 (64 bit) to be installed for Python 2.
Do NOT install the default x86 python, make sure to download the x86-64 version. IMPORTANT on Windows the Python installation that comes with Clarisse doesn't set up required environment variables. Please install Python from here and
make sure pip gets installed.
Make sure Clarisse is not running while installing the kit. CSK won't work for some scripts on the PLE version, because of Python restrictions.
Download the zip by clicking the big green Code button or here, extract the files and run the following command via terminal/command prompt/powershell:
Windows: If you don't know how to open the Command Prompt or PowerShell window you can do it really easily. There's two easy methods. The first is to browse to the extracted folder where the setup.py file resides with Windows Explorer and Shift+Right Click on an empty space in the Windows Explorer folder (don't click on a file) and choose "Open PowerShell windows here".
Another way is to press Win+R and type cmd and hit enter. Then type cd (note the space after cd) and drag and drop the extracted folder into the Command Prompt window. Then hit enter.
python .\setup.py installOSX: OSX users should open their clarisse.env file and locate their Python installation before running one of the following commands. The commands must be run with the Python installation that is used by Clarisse. By default it should be somewhere in /System/Library and not /Library.
Example for python 2:
sudo /System/Library/frameworks/Python.framework/Versions/2.7/bin/python setup.py installImportant: After the installation is done make sure to run Clarisse 5.0 SPx with the Python version you used for the installer via the Start Menu. The regular Clarisse shortcut uses Python3.

The shelf will automatically be updated and backed up. If the installation does not install the shelf correctly you can find a shelf_installation.log file in your Isotropix/VERSION/ user folder.
On Windows you can find the shelf_installation.log file here:
C:/Users/YOUR_USERNAME/AppData/Roaming/Isotropix/Clarisse/VERSION
On Linux you can find it here:
/home/YOUR_USERNAME/.isotropix/clarisse/VERSION
On Mac you can find it here:
/Users/YOUR_USERNAME/Library/Preferences/Isotropix/Clarisse/VERSION
When a script asks you to select a material either select the PhysicalStandard material or its parent context
The kit provides the following scripts:
- Import a Megascans asset. Meshes will automatically have their materials assigned when imported as .obj. Alembic(.abc) files will be imported as references. 3D assets such as 3d models, plants & atlases will also have a shading rule created for them.
- Import meshes(.abc/.obj) and generic textures such as Substance. Meshes will automatically have their material assigned and shading rules are created. You can specify which textures should be interpreted in which color space if needed. Custom rules can be added/modified in the settings.py file. TX or UDIM files will be converted to Streamed Maps.

Video: Importing UDIMs from Substance Painter
IMPORTANT: In the latest Bridge versions they renamed all textures and models filenames for some reason. Please reset the naming settings to the following settings:

Launch the Bridge listener from the shelf and send assets directly to Clarisse. Make sure the Command Port is running. You can enable the Command Port from the preferences. Keep it at the default port number of 55000. When exporting assets from Bridge to Clarisse make sure to select Custom Socket Export as your application target and keep the port at the default of 24981.
Since the Bridge communication script is running outside of Clarisse and decoupled from CSK I didn't make these settings configurable. You can edit the ms_bridge_importer.py python file if you need to customize the ports, but these settings will be overwritten once you install a new version.
Packing channels is not supported. Assets that are exported outside of the library will work fine.
Video: Megascans Bridge Communication

-
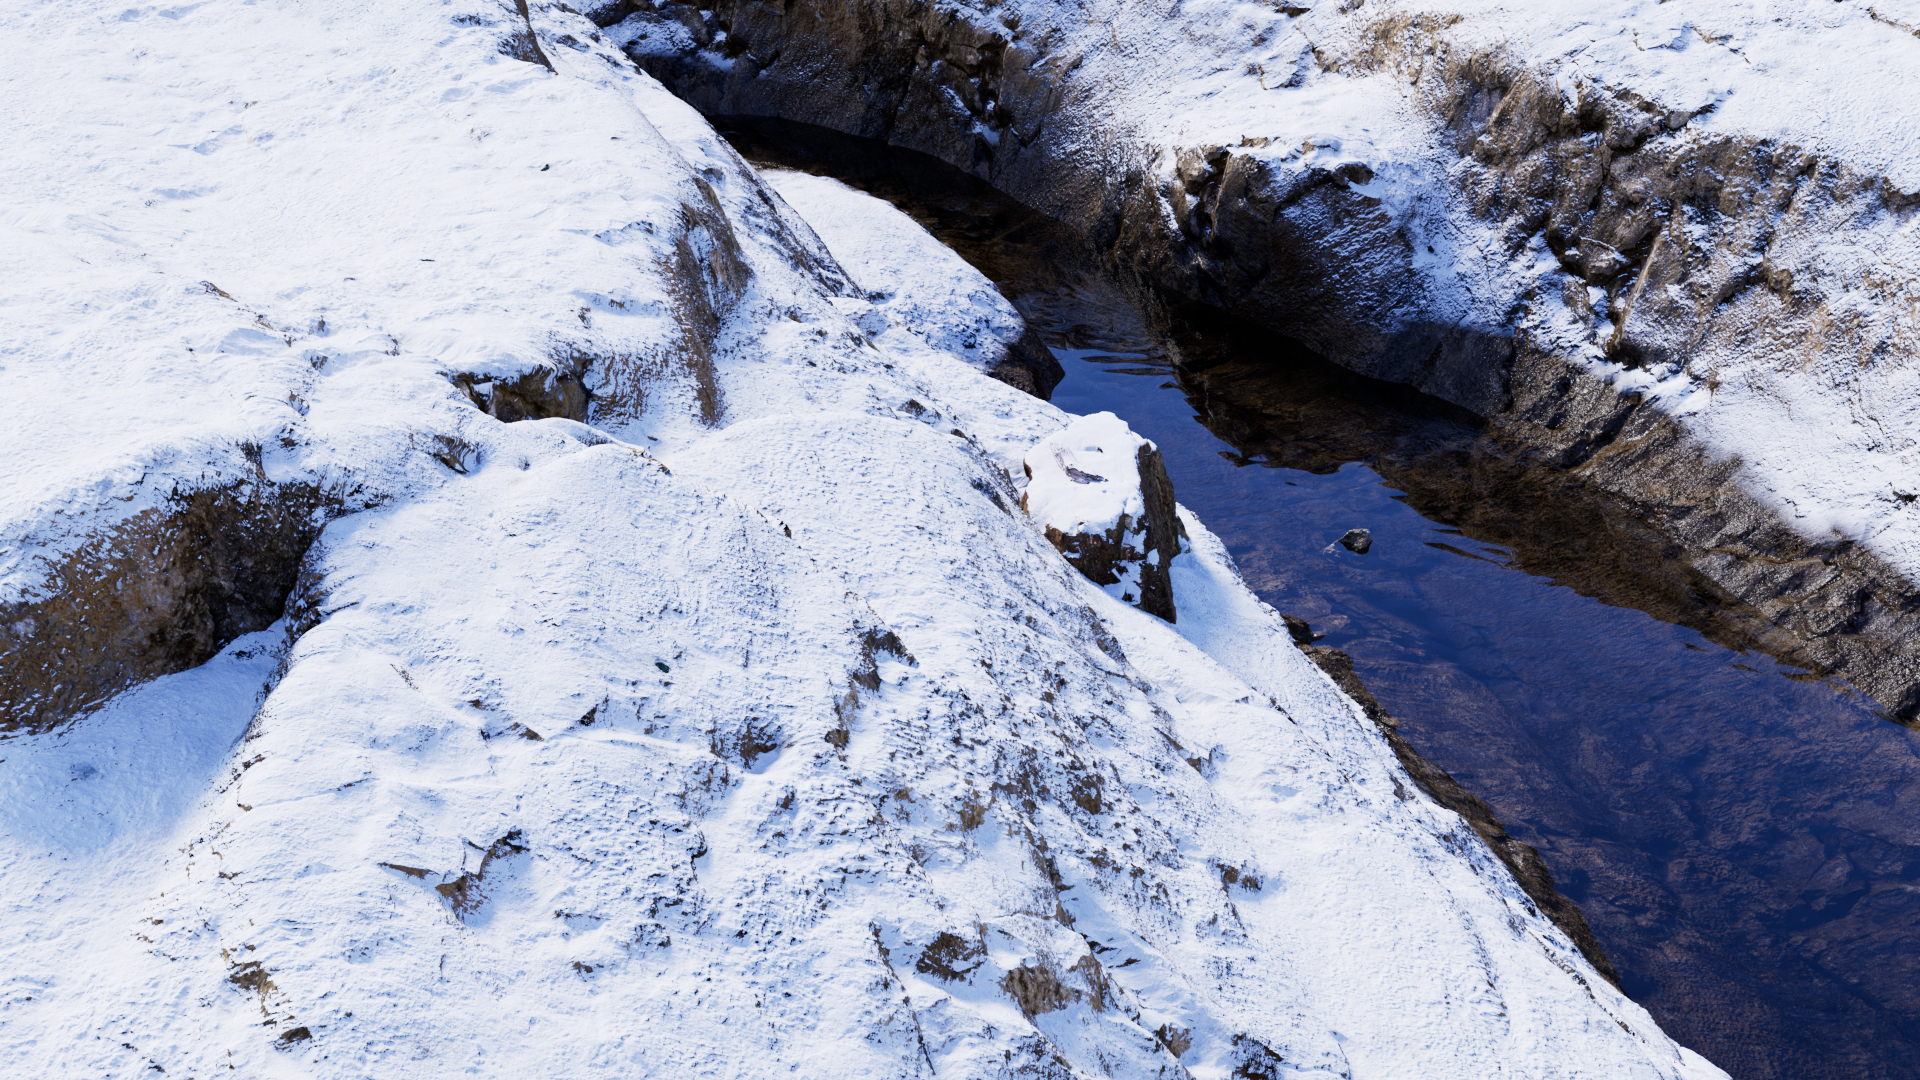
Creates a PhysicalBlend between one or more base surfaces and a cover surface(like dirt/snow). All selectors except displacement are instanced so you can manipulate multiple mixed surfaces at once. With this powerful script you can transform a whole scene into a snow covered one with ease.
-
Masking features:
- Height blend: Mixes the materials based on Y elevation. Handy for shore lines.
- Displacement blend: Checks which displacement map has higher elevation than the other. You can invert the selector or add both layers on top of each other.
- Slope blend: Mixes two materials based on slope angle.
- Triplanar blend: Uses triplanar mapping for the mask. By default the top facing(Y+) angle is masked.
- Scope blend: A scope object is automatically created to quickly mask things out.
- Occlusion blend: You can use Ambient Occlusion to blend the materials. Has a huge impact on performance when used with Displacement.
- Fractal blend: If any other selectors are active the Fractal blend selector will be overlayed on top to break up the masking in the transition areas.
Adds the selected surfaces to an existing mix.
You can quickly replace the selected surface or change the mapping settings. If you're replacing a material that was used in a surface mix it will also update.
Note: If you replace Megascans assets with other Megascans assets this script will work fine. There can be some structure issues if you replace it with other type of asset structures. I am hoping to iron this out in the future.
Swaps out the selected material temporarily with a simple PhysicalDiffuse material. When you rerun the command on the selected PhysicalStandard material or its parent context it converts it back to the original state.
Adds a wet layer on top of the selected material. Several masking options are available.
Adds a blend texture which can be used to colorize the selected surface so it matches better with other surfaces.
Converts the selected textures to triplanar.
Blurs the selected texture with a custom radius.
Generates a GeometryPointCloud or GeometryPointUvSampler on the selected object. Has several masking options for decimating the point cloud.
Import the whole library or specified categories. If you need individual assets use the Import Asset script. If you import 3D assets make sure you import them in a context that is currently not rendered inside your viewport. Otherwise it will try to render all objects.
Converts the selected Map Files to Streamed Map Files and vice versa. If the texture is single channel it will generate a reorder node for you. UDIM tokens are automatically added in the filename if they exist. Almost all settings are copied over.
Convert images to tx or other formats and vice versa. TextureMapFiles will be converted to TextureStreamedMapFile when converting to .tx.

Scans the selected textures or child textures in the selected context for newer source files in the same directory. Source files that have a more recent date_modified timestamp get reconverted to the same extension of the selected texture maps.
Select two or more items of type: Texture(any type), TextureNormalMap, Displacement, Physical Material(any Physical material) and your selection will be blended together with the appropiate blend or multiblend node.

Mask out selected blend nodes with common masking selectors. If nothing in the list is selected it will create just the masks.
Creates a displaced terrain from a heightmap. You can split the terrain in tiles or you can use premade tiles from applications such as World Creator and World Machine. Each terrain tile can have different quality settings to optimize speed and memory.
By default logging is disabled. If you get crashes you can enable logging in your user settings file and it will generate a log which will help me fix the bug if you send it to me. The log doesn't contain any information about your computer. It only logs which functions were called with which variables. To enable logging add the following lines to your user_settings.py file:
import logging

LOG_LEVEL = logging.DEBUG
You can locate the custom settings and log in the following locations:
On Windows you can find it here:
C:/Users/YOUR_USERNAME/AppData/Roaming/Isotropix/.csk
On Linux you can find it here:
/home/YOUR_USERNAME/.isotropix/.csk
On Mac you can find it here:
/Users/YOUR_USERNAME/Library/Preferences/Isotropix/.csk
You can manually make that folder if it doesn't exist and create a __init__.py file and user_settings.py inside the .csk.
OR
If you don't want to do that run the script once by clicking any of the buttons in the shelf and this folder and files are automatically generated for you.
All variables from the settings.py file can be copied over to and customized within the user_settings.py file inside your user folder. Don't overwrite the settings.py file. This file will be overwritten once you reinstall or upgrade.
- 25-04-19 Added Heightmap Wizard
- 03-03-19 Added Reconvert Selected Textures and Stream Toggle adjustments
- 22-02-19 Added Mask
- 22-02-19 Added Quick Blend
- 11-02-19 Added Cavity Textures Support
- 11-02-19 Added Texture Converter
- 11-02-19 Automated enabling Command Port for Bridge communication
- 11-02-19 Added LOD and Resolution Picker
- 29-01-19 Added Megascans Bridge Communication
- 28-01-19 Added Add Surfaces to Mix
- 27-01-19 Added Map File Stream toggler
- 27-01-19 Refactored Code and Restructured all contexts
- 14-01-19 Added AO files support.
- 14-01-19 Added preview file import.
- 13-01-19 Added logging.
- 13-01-19 Added user_settings.py for overriding settings.
- 13-01-19 Fixed many bugs and tweaked usability.
- 12-01-19 Added multi mix feature.
Special thanks to Andrew Schuhler. I really appreciate it.
This toolkit started out initially as a small script to import Megascans assets. After a while it has become much larger than that. I invested a lot of my time and energy into making it this kit. If you feel like it has been of any use to you I would highly appreciate any donations and your feedback.
Some new version is in the works for Angie, but I can't give any ETA or details about it.
Aleks Katunar was really kind to help me test out the script and for becoming a collaborator.
Isotropix for their support and for creating Clarisse.
Til Strobl For his deep testing, bugfixes and quality of life changes.
GNU GPLV3